

Days by the Sea Quilt Tutorial
- Craft Cotton Co

- Jul 6, 2017
- 2 min read

This is a simple quilt made up of five easy blocks [All seams have a 1.5cm allowance unless otherwise stated.
Fabric A – Cut 5 trapeziums [bottomFabric B - Cut 8, 10.5cm x 25cm rectangles

Fabric B - Cut 8, 10.5cm x 25cm rectangles

Fabric C – Cut 4, 10cm x 25cm rectangles - Cut 5, 10cm x 15.5cm right angles triangles - Cut 5, 10cm x 13cm right angle triangles - Cut 4, 25cm x 25cm squares

Fabric D – Cut 8, 21cm x 21cm right angle triangles

Fabric E – Cut 8, 21cm x 21cm right angle triangles length 13cm top length 19cm, width 8cm]

Fabric F – Cut 5, 25cm x 25cm squares

Fabric G - Cut 8, 25cm x 25cm squares

Plain fabric/interfacing – Cut 5, trapeziums [19cm on top and 13cm on bottom, 8cm wide]
- Cut 5, 15.5cm x 10cm right angle triangles
- Cut 5, 13cm x 10cm right angle triangles
The quilt is assembled block by block and then each block is stitched together according to the top image.
Block 1 – Hourglass Block
Place one triangle from fabric D and one triangle from Fabric E right sides together and pin the shortest side. Stitch along pinned seam and press seam allowance. Repeat again [Make sure to place your fabrics in the same positions]


Place the two pieces you have sewn right sides together making sure to match the seam in the middle so it sits neatly. Stitch and press seams. Give block a final press. Make this block 3 more times.


Block 2 – Striped Block
Place 2 of your rectangles from fabric B alongside 1 rectangle from Fabric C, right sides together.. Pin along the longest seams and stitch. Press seams and give block a final press. Make 3 more blocks in the same way.


Block 3 – White Speckle Block
This block is plain so you can leave your Fabric c square as is.
Block 4 -Appliqué Boat Block
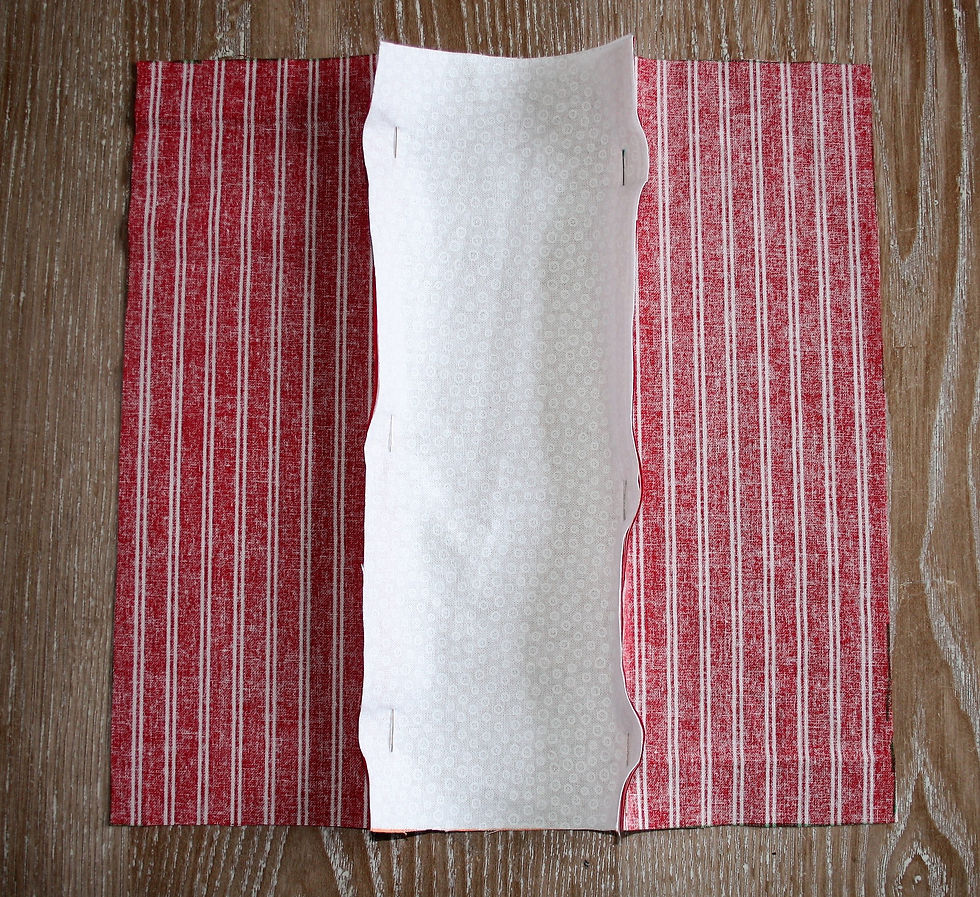
Place one of your 13cm x 10cm triangles right sides together with your plain backing/interfacing sew around all edges using a 1cm seam allowance. Clip corners and cut a small slit in your plain fabric/interfacing [Make sure not to cut into your main fabric] Turn your small sail through this gap and repeat with your larger sail and your boat body.


Iron each of these pieces and pin them in place on your fabric F square. Using a straight stitch secure these to your square. Keep your stitches approximately 0.5cm away from the edge. Alternatively you can appliqué these to your block by hand. Press block and make 4 more in the same way.

Block 5 - Nautical print block.
This block is plain so you can leave your Fabric G square as is.
Assembly
Assemble your quilt using the top image as a guide. Simply stitch the blocks together and press seams as you go. Then add an 8cm border using fabric E.


Add Batting and Backing and quilt as desired.


Tutorial by Frankie Baldwin for the Craft Cotton Co 2017
Check out Frankie's blog www.knitwits-owls.blogspot.co.uk
Follow her on Instagram instagram.com/knitwitsowls


Comments