

Dribble Bandana Bib
- Craft Cotton Co

- Sep 15, 2020
- 3 min read
Project by Katie Done

Years before I started The Fabric Squirrel, I had my little Crafts by Katie business. I needed a good excuse to sew so I made lots of things to sell at craft fairs and eventually on Etsy. When my eldest was younger he was a real dribbler and I made him lots of bibs. They proved popular on my craft stalls and I made them day in day out. It has been a long time since I made a dribble bib but I am still sure I could do it with my eyes closed. Now Alfie is teething and soaking through his clothes, it is time I dusted off my template.
While at a craft show at the NEC in 2017 I picked him some teethers that can be sewn into bibs and taggy blankets. I don't know the name of the company now but if you do a search for "sew on teethers" there are a lot available, just make sure you purchase ones that are BPA free and passed EN71 safety standards. I didn't get around to using it before he stopped dribbling, but I have known the exact draw in my craft room they have been in all this time waiting for another excuse to use them. In this tutorial I will talk you through how to do one with and one without the teether. You can easily get it finished in 20 minutes.
IMPORTANT - Always remove any bibs before you put a baby down for a sleep.

YOU WILL NEED
Long quarter of fabric
Brushed cotton
Iron
KAM snaps
METHOD
1. Make your template. I made it easy making it 25cm tall, so I could buy long quarters and get the most out of the fabric. On some card draw a 25cm vertical line, 90 degrees from the top draw a 22cm line, join the two ends together to create a triangle (the template below is just an example and is not to scale). Line the long side against the fold of the fabric and cut one in the cotton of your choice and one in the brushed cotton.

I use a brushed cotton sheet to back my bibs. It worked out cost effective and is super soft. Although it may not be the most absorbent material, it is enough to keep his clothes dry, when it gets too wet it needs changing anyway to avoid a red chin. I have used 100% cotton for the patterned print on these ones, but I have used jersey in the past just as successfully.

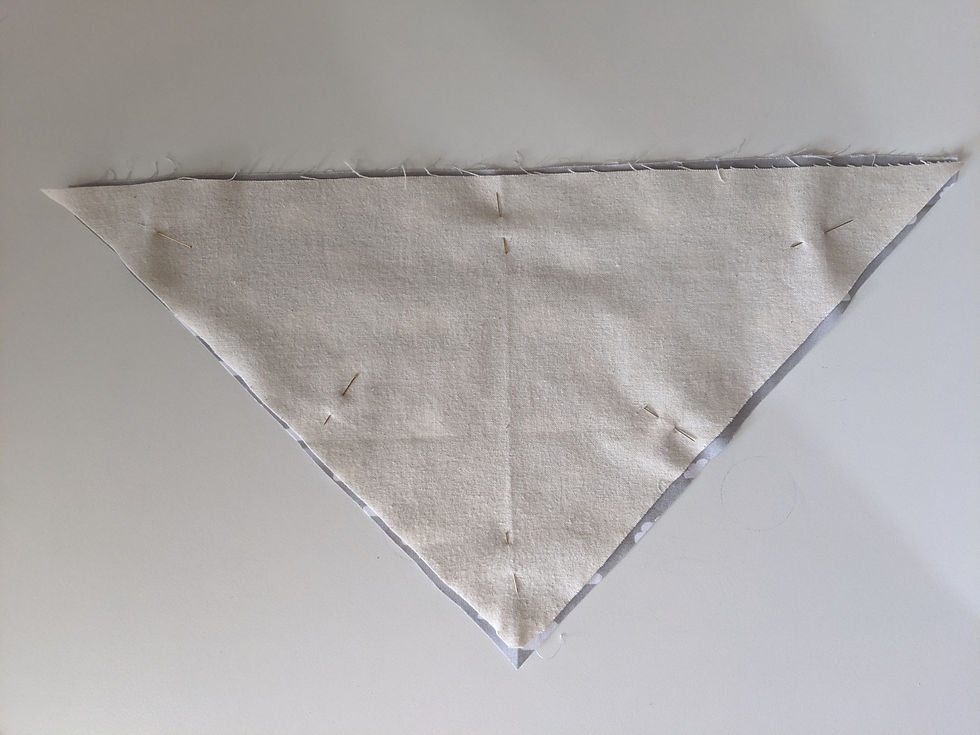
2. Pin your triangles right sides together. Sew, pivoting at the corners, leaving a gap to bag it out. For the regular one I left a gap on the side. For the teether I have left a gap around the size of the teether on the bottom corner.


3. Trim the seam allowances and corners. Turn it out, push out the corners with something pokey and give it a good press.


4. For the one without a teether, top stitch around all three edges. For the one with a teether place it in the gap you left. Sew slowly over the teether ensuring you catch the fabric on both sides. Continue to top stitch all the way around.
5. Add one popper, I use KAM snaps, to one side, and two to the other so you have a choice of size.

Simple as that, now you can make a bib for every occasion.

I would love to hear from you if you are feeling inspired. For more free tutorials, news on new fabrics and special offers, make sure you sign up to my mailing list.
To see more from Katie, visit her on Instagram @thefabricsquirrel
Made by Katie Done for The Craft Cotton Company 2020


Comments