

Passport Cover
- Craft Cotton Co

- Jun 23, 2016
- 2 min read
If your jetting off on your holidays soon why not make yourself a snazzy passport cover for when you are travelling, not only will this protect your passport it will also make sure you won't lose it! You could also coordinate your holiday wardrobe to match, with new summer tutorials and fabrics coming soon!

What you will need:
Scissors
Ruler
Pencil
Pins
Iron
Sewing machine
1/4m fusible interfacing
1/2m The Craft Cotton Company’s Plain Dyed Blue cotton (lining)
1/2m The Craft Cotton Company’s Blue Whale cotton print (the outer fabric)
First, cut out your fabrics:
Press fabric before beginning. Cut out the following pieces:
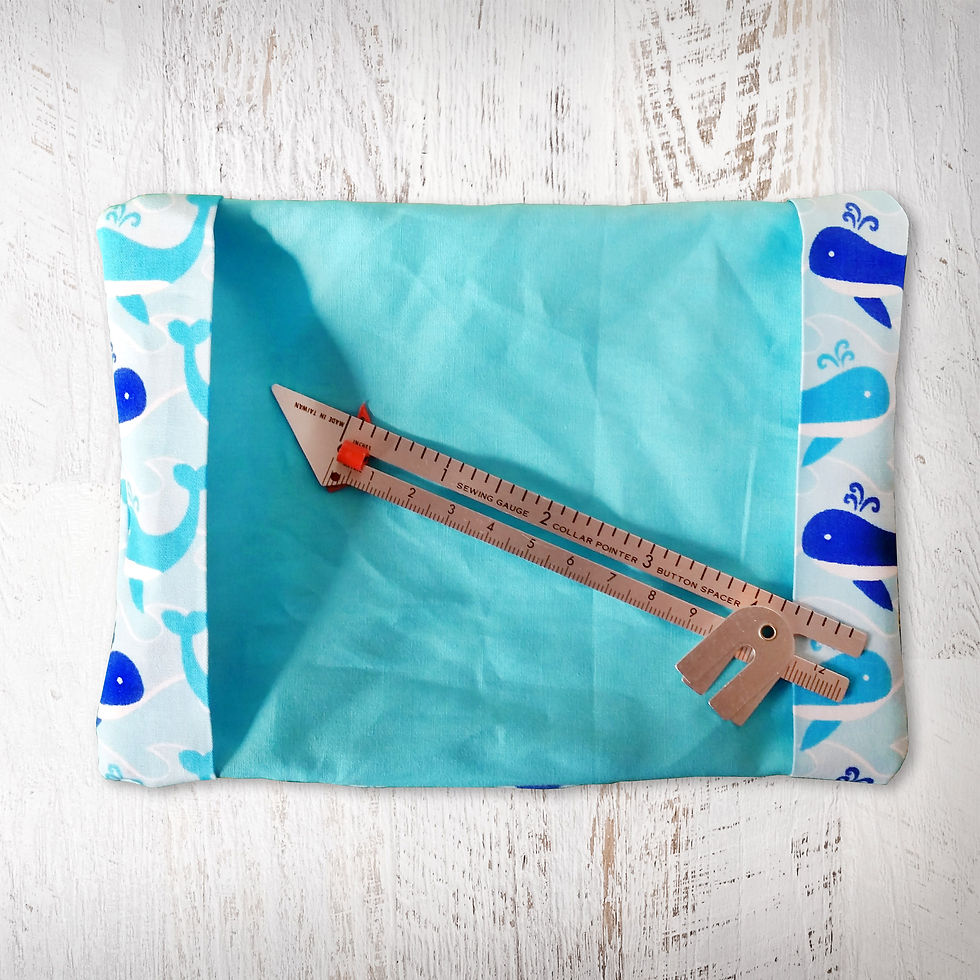
Outer fabric: 21cm x 16cm (landscape if using a directional print)
Lining: 21cm x 16cm (landscape if using a directional print)
Flaps (I used outer fabric again) x 2 pieces: 8cm x 16cm (portrait if using a directional print)
Fusible interfacing: 20cm x 15cm (not shown in image)

Next, attach the interface and layout:
Fuse interfacing to the wrong-side of the outer fabric.
Fold each flap piece in half lengthways with the print facing outwards and press (they should now measure 4cm x 16cm).

Lay the lining piece down right-side up and arrange the flaps at the outer short edges, lining up the raw edges. Make sure any directional prints are facing the same way.
Lay the outer fabric on top, right-side down (so you now have the outer and lining right-sides facing).

Pin all the way around the edges, making sure to catch the flaps in the pins. Mark an area to leave un-sewn for a turning hole. Mine is between the double red pins at the bottom.

Sew with a 1cm seam allowance all around the edge of the passport cover, pivoting at the corners and back stitching at the beginning and end to secure. Remember not to sew your turning hole.
Tip: Leave a bigger seam allowance for the turning hole to make sewing it up easier.

Clip your corners and finish your seams, I have chosen to use pinking shears.
Finally, turn through and press:
Press all of your seams open, taking special care to accurately press the turning hole seam allowance so you don’t end up with a lump later.
Turn the whole thing the right way out through the turning hole, moving the flaps to the lining side. Carefully push out the corners with a blunt object.
Give it a good press. Slip stitch the turning hole closed by hand.
Top stitch around the outside of the cover, close to the edge.
Tip: Choose a point on your presser foot to line up with the edge to keep it even.


© By Rachel Pinney at The Craft Half for The Craft Cotton Company 2016


Comments