

Pinwheel Surprise Cushion Cover
- Craft Cotton Co

- Feb 19, 2019
- 3 min read
Updated: Apr 14, 2020


As a beginner sewer I thought this project would be quite challenging, but even though it was quite time consuming, the end result made it all worthwhile!
A rookie mistake I made was not drawing out and planning how to cushion would look once its complete, if I had done this I would of seen that the middle of the cushion should've been a 5th pinwheel! Either way I'm happy with the result and proud to have learnt a new technique. Here's how I did it-
What you'll need:
20” x 20” Pinwheel backing fabric [green leaves]
20” x 20” Contrasting fabric for the pinwheel [pink spot]
40” x 30” Contrasting fabric for the overlapping pieces [multi floral]
18” x 22” Fabric for the back of the cushion [green leaves
18" zip
17” square cushion pad
Step 1
Cut out 5" squares in all three fabrics - 16 of the pinwheel colour, 16 backing colour and 48 overlapping colour.

Step 2
Fold your pinwheel fabric in half and press. Do the same with the overlapping fabric.

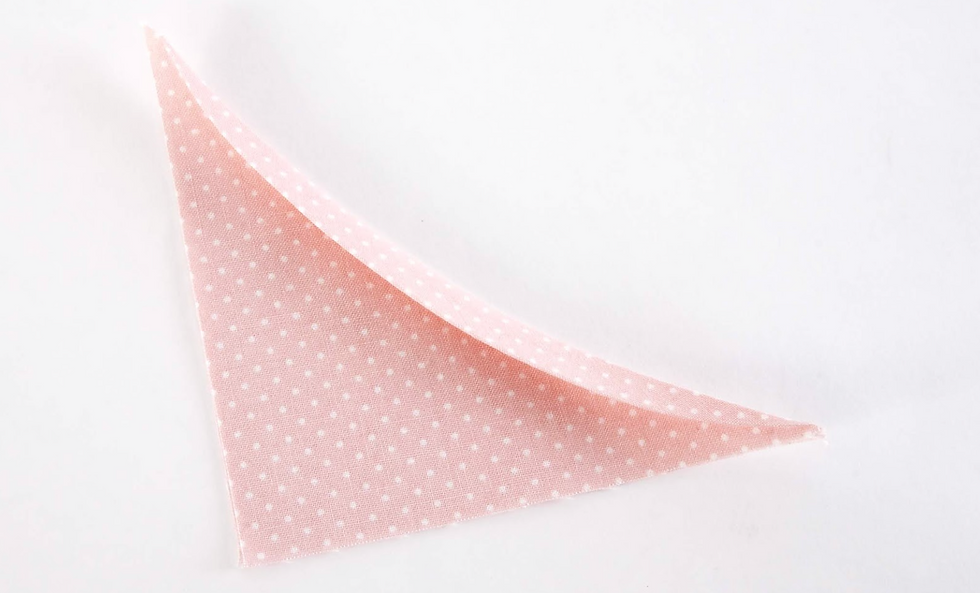
Step 3
Roll the folded edge back to create an arc and press. This will create the illusion of a curved edge. Do this with the pinwheel fabric and the overlapping fabric that you've just pressed.
Step 4
Place the curved triangle over the right side square, lining at the edges.

Step 5
Place the first overlapping triangle over the pinwheel triangle at a 90 degree angle.

Step 6
Place the third overlapping triangle over the second again, at a 90 degree angle, then repeat with the final overlapping triangle, tucking one side under the pinwheel triangle. Pin or clip all 4 corners in place so they don't move, make sure they all line up with the backing square.
(Be sure to follow this same rotating pattern for each square, I only realised when putting all the blocks together some were going clockwise and others anti clockwise! Again, a rookie error followed by a lot of unpicking...)

Step 7
Sew all the way around the square keeping as close to the edge as you can.

Step 8
Repeat these steps until you have 16 complete squares.

Step 9
Lay out your pieces before sewing together so that you have the correct pattern. Once they are in order you can start to sew them together.
Sew two blocks right sides together, matching points. Repeat with the second pair, then sew the four small blocks together. When you have four large blocks, sew these right sides together in the same way.

Step 10
For the back of your cushion, sew your zip face down to the right side of the longer piece of backing fabric, along one short edge. Your zip will be a little too long, but this makes it easier to sew as you can move the slider out of the way. Trim your zip to size after sewing it in.

Step 11
Fold the fabric back and press, top stitch along the zip if you like. To create the hidden zip, fold the remaining piece of fabric over, wrong sides together, by 1” and press. Open out the fold, sew the raw edge to the opposite side of the zip. Allow the fold to cover the zip, then top stitch along the zip tape and over the ends of the zip.

Step 12
Sew the back of the cushion to the front by placing right sides together and sew around the edge, using a 1/4" seam allowance. Trim away the backing fabric if necessary, cut across the corners and turn the right side out. Insert your cushion pad. Voila!


Kimberley used 'Vintage Splendour' Fat Quarter Pack from The Craft Cotton Company.
To see more from Kimberley, check out her blog!


Comments