

Arts and Crafts Bag
- Craft Cotton Co

- Feb 2, 2021
- 3 min read
Project by Stephanie Marsh

You will need:
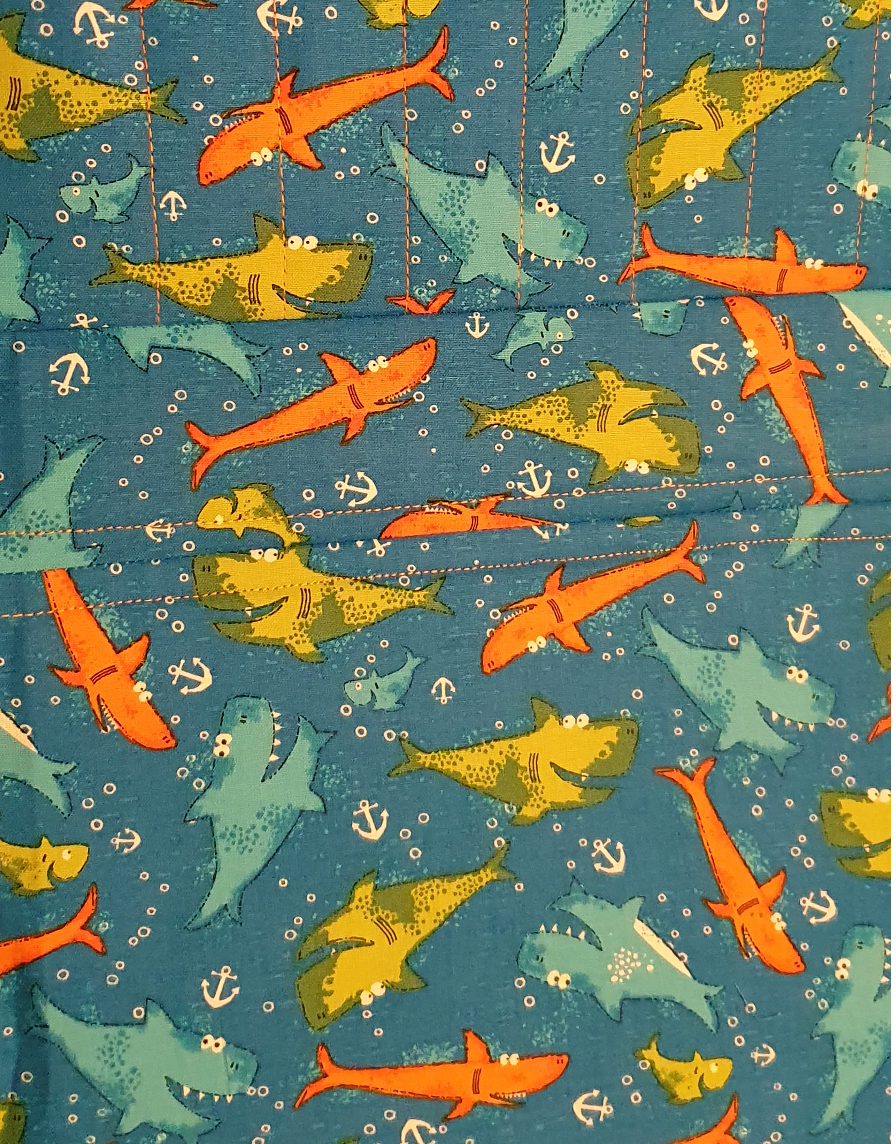
1m fabric 1m r-form bag stabiliser (or wadding) Medium/heavy weight iron on interfacing Thread
Note: 1cm seam allowance used throughout, unless stated.
Instructions
1. Cut the following in the fabric:
2 back/front 24cm x 33cm (W x H) 2 sides 12cm x 28cm (W x H) 2 back/front (lining) 24cm x 33cm (W x H) 2 sides (lining) 12cm x 28cm (W x H) 2 small side pockets 12cm x 22cm (W x H) 2 large side pockets 12 cm x 32cm (W x H) 1 small front pocket 24cm x 26cm (W x H) 2 large front pocket 24cm x 26cm (W x H) 2 handles 30cm x 12cm (L x W) Cut the following in r-form stabilise:
2 back/front 22cm x 31cm 2 sides 10cm x 26cm 2 handles 28cm x 4cm Cut the following in interfacing:
2 small side pockets 12cm x 22cm 2 large side pockets 12 cm x 32cm 1 small front pocket 24cm x 26cm 2 large front pocket 24cm x 26cm 2. Iron the r-form stabiliser and interfacing onto the relevant pieces. Note: the r-form stabiliser is 1cm smaller on all edges than the outer fabric.

3. Take the pocket pieces and press them in half widthways. Pin the larger pocket piece then the smaller pocket piece in place on the side panel.

4. Take the smaller front pocket and using a heat erasable pen mark lines from top to bottom at intervals of 2cm.

5. Place smaller pocket front piece on top of larger pocket front piece. Stitch along the marked lines.

6. Take front bag piece and measure 6cm up from the bottom and mark a line across from side to side. Take the front pocket piece and place right sides together, front pocket piece top at the bottom, 1cm from the bottom of the pocket on the marked line. Stitch along this line. When you press the pocket piece up it will be the right way up.

7. Press pocket piece up.

8. Take the front and back pieces and stitch together along the bottom short edge (along the edge of the r-form stabiliser (it’s okay to catch a small piece in). Press the seam open. From the right side, top stitch 0.5cm either side of the seam line.
9. Take the side panels and attach to the front/back with the centre matching the bottom seam that you have just sewn. Stitch in place, start/stop stitching 1cm away from the edge.

10. Matching the top edges pin and stitch all 4 sides seams to create a box/bag. Snipping into the stitch line on the front/back/side panels will ease the seams.


11. Remove the pins holding the pocket pieces in place.
12. Take the handle fabric pieces and press 1cm on ling edges to wrong side. Place the r-form stabiliser handle pieces in the centre, lengthways and press in place. Wrap the fabric around the stabiliser and stitch in place using a few rows on evenly spaced top stitching.

13. Pin and tack in place the handles to the top of the bag, right sides together, with outer of handle being 3cm from side seams.
14. Make the lining of the bag the same as the outer, omitting the pocket pieces.
15. Turn outer right side out and lining wrong side out. Place the outer inside the lining. Line up the tope edge and side seams. Stitch in place.


To see more from Stephanie, visit her on Instagram @stephanie_j_marsh
Made by Stephanie Marsh for The Craft Cotton Company 2020


Comments