

DIY Handlebar Bag: For Hassle-Free Bike Rides!
- Craft Cotton Co

- Aug 6, 2020
- 6 min read
This project has been created by Lisa at Create and Craft. Please click here for the original post.

Heading out on your bike is a fantastic way to enjoy a sunny day – but it can be tricky finding an easy way to carry all your essentials along with you, if your bike has no storage… but not anymore! Forget awkward rucksacks or dangling shopping bags, this fantastic DIY handlebar bag by Becky Cole is the perfect way to ensure there’s space for everything, without hampering your ride at all! Check out Becky’s DIY tutorial below, and discover how to create your own handlebar bag that will make your next bike ride so much more enjoyable!
Time to Make: 3-4 hrs Skill Level: Intermediate
You Will Need:
Cotton fabric (top) 64cm x 30cm
Cotton fabric (zip pocket) 28cm x 21cm
Cotton fabric (front pocket) 28cm x 16cm
Cotton fabric (lining) 64cm x 30cm
Cotton fabric (pocket binding) 5m x 1.2m
Cotton fabric (top binding/Velcro straps) 8cm x 1m
Cotton fabric (inside panel) 12cm x 32cm
2 pieces measuring 21cm x 24cm
2 pieces measuring 10cm x 24cm
1 piece measuring 21cm x 10cm
1 piece measuring 15cm x 10cm
Step 1
Press the 5cm wide stripping in half. Line up the raw edges with the top edge of the front pocket piece. Stitch in place with a 1cm seam allowance. Trim away any excess of the fabric strip. Turn the pocket over and fold over the fabric strip to meet the line of stitching on the other side. Top stitch through the fabric strip along the previous line of stitching.


Step 2
Position the front pocket on top of the zip pocket piece, lining up the bottom edge. Top stitch with a long basting machine stitch around the three edges, 5mm in. Top stitch through the fabric pieces directly down the centre of the front pocket creating two pockets. Reverse stitch over the binding for strength.

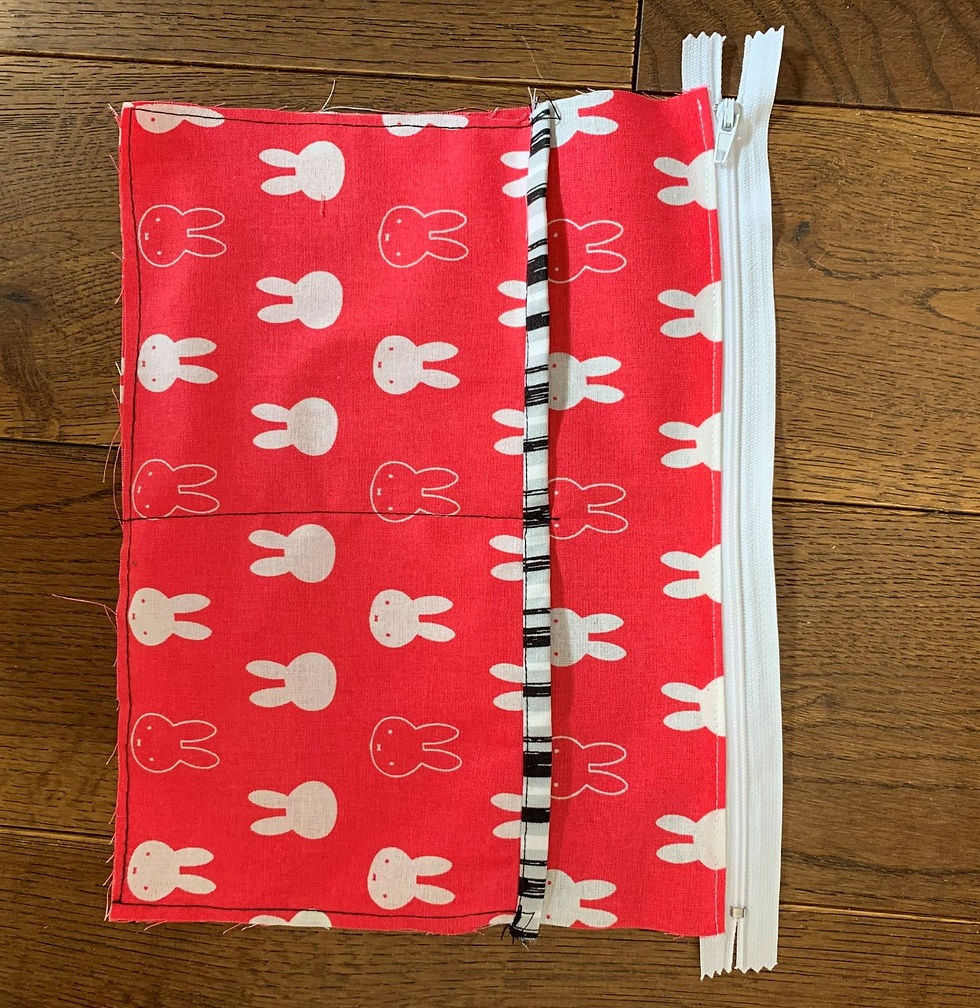
Step 3
Fix the zipper foot to your sewing machine. Open up the zip and lay the bottom tape along the top edge of the zipper pocket fabric. Make sure that the tape of the zip sits over the top of the raw edge of the fabric.

Turn the zip over so that the tape now sits behind the fabric. Press and top stitch close to the top edge, holding the zip in place.
Step 4
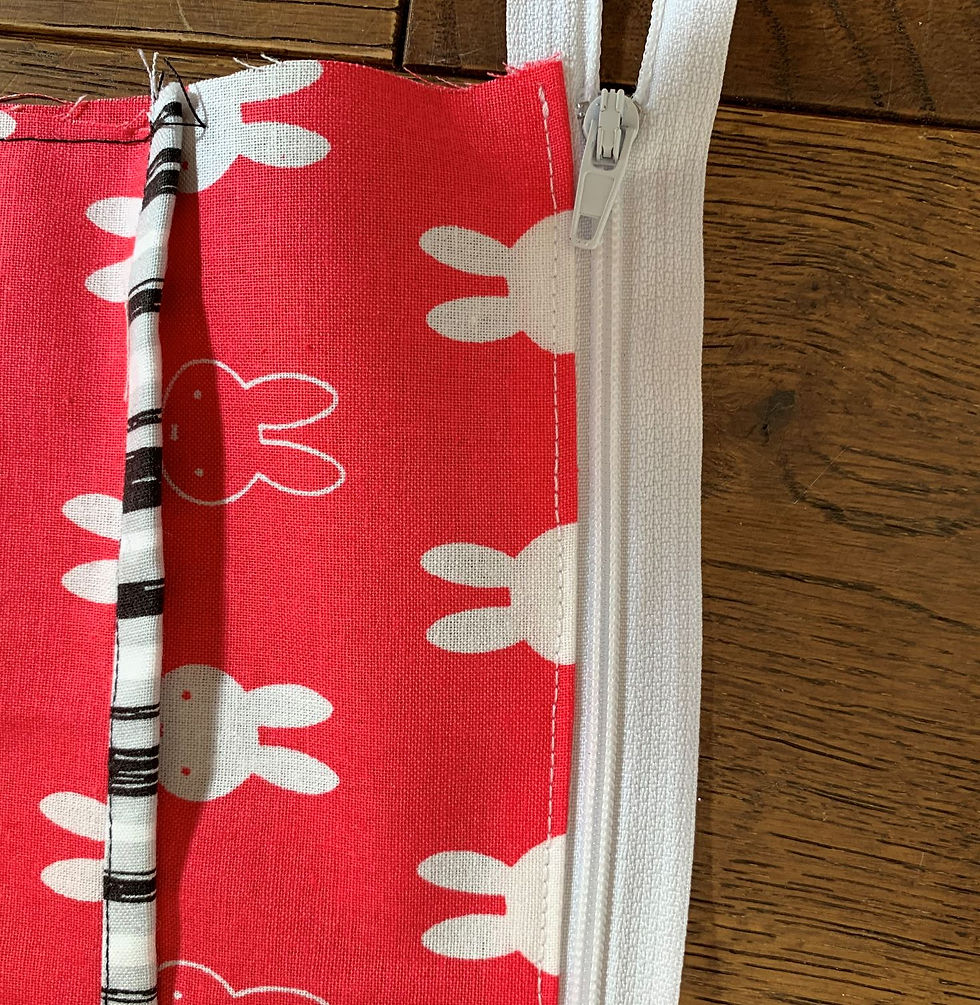
Place the zipper pocket onto the bag fabric, lining up the bottom edge and 3cm from the left-hand side. Pin in place. Take the remainder of the fabric strip and press in half again, making sure the raw edge sits lower than the original folded edge.

Turn the tape over and position it at the edge of the front pocket piece, so that it covers the other edge of the zipper. Top stitch down both sides of the tape, enclosing the zipper and fixing it in place.


Step 5
Repeat this process with the tape running down both sides of the front pocket from the top edge of the bag to the bottom, enclosing the raw edges of the front pockets. Take care not to hit the metal ends of the zipper to avoid breaking your machine needle.

Step 6
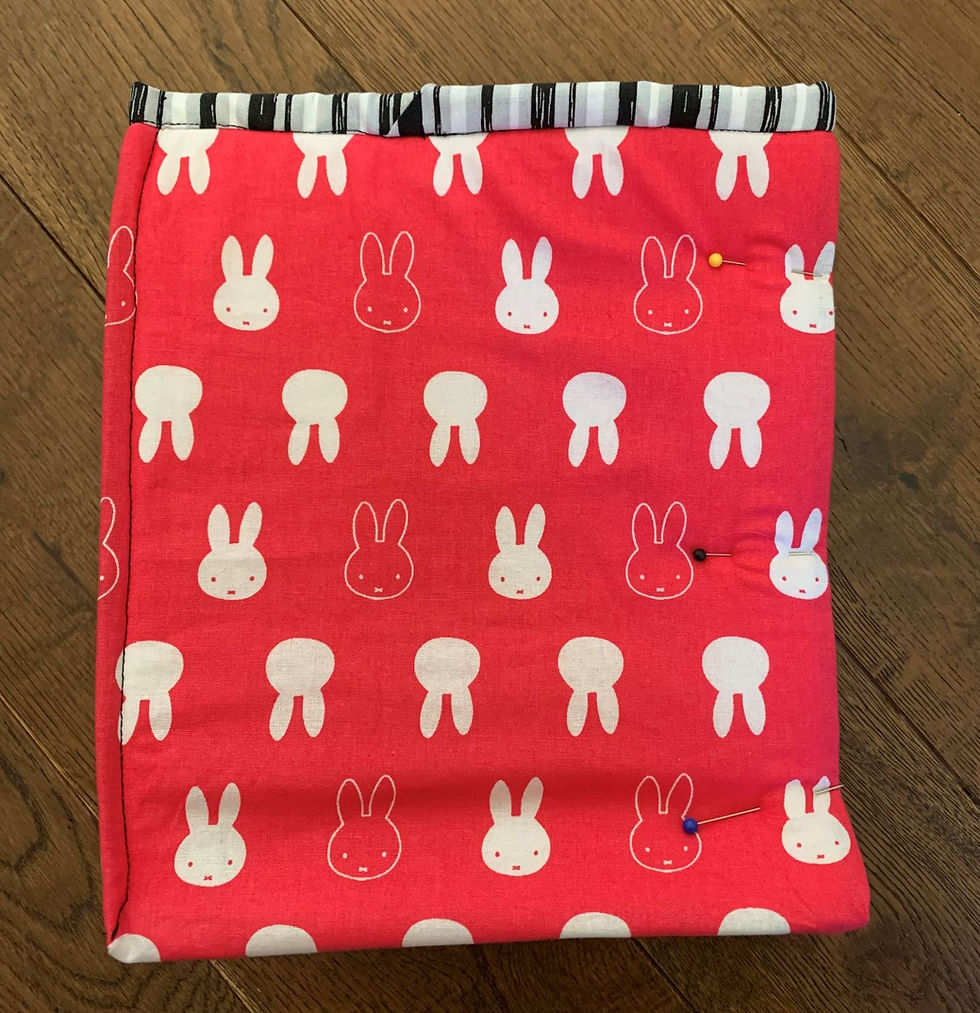
Fold the bag fabric piece in half width-ways, right sides together, lining up the edges. Sew a 1cm seam along the side and bottom. Trim away the excess in the bottom corners. Repeat with the lining fabric also.

Step 7
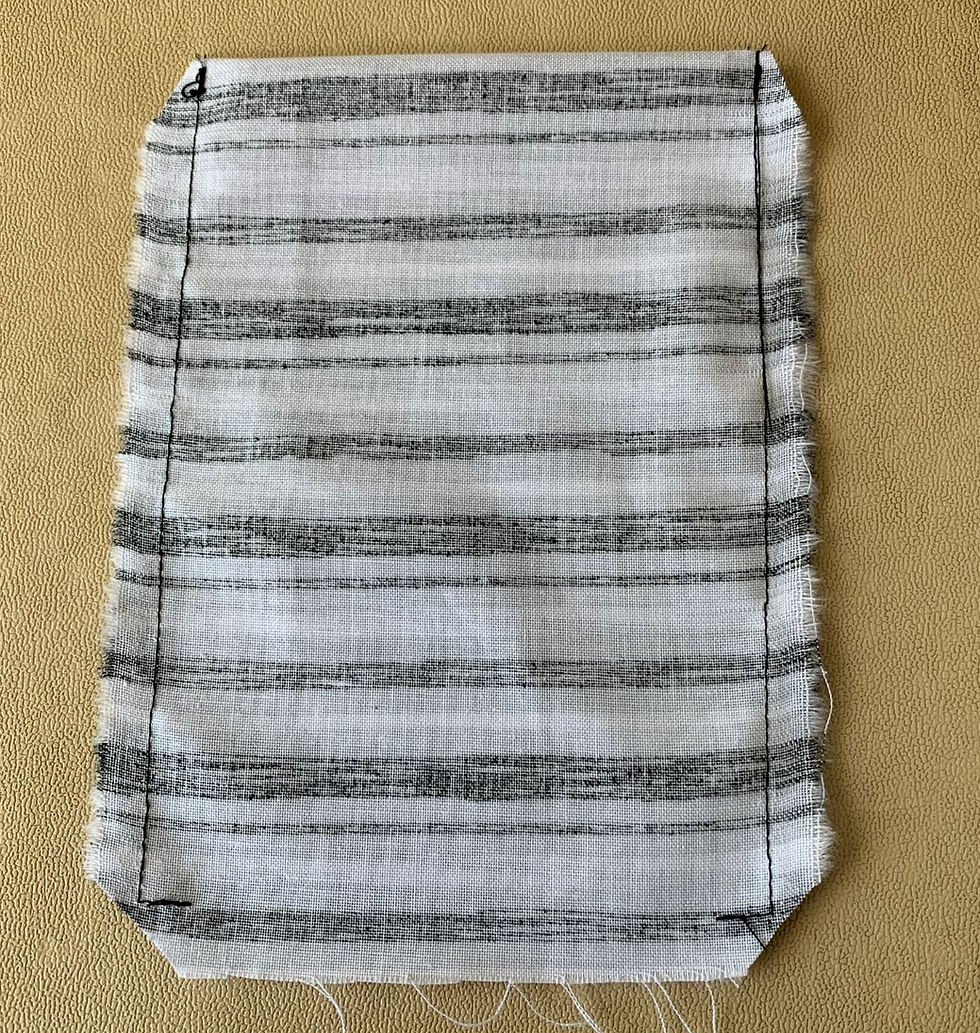
Fold the bottom corners diagonally, lining up the bottom seam and the side seams to create a point. Pin the seams together to keep them lined up. Using your dressmaker’s ruler, measure approximately 5.6cm along the stitch line from the point and make a mark.
Next, draw a line at right angles to the stitch line at this point. The line should be 10cm long; adjust the line’s position accordingly until this is achieved. Stitch across this line. Repeat for the opposite corner. Turn the bag through to the right side and press all seams. Repeat with the lining fabric also, but do not turn this through to the right side.


Step 8
Temporarily turn the lining bag through so you are looking at the right side of the fabric. Cut two lengths of velcro to 10cm long. Position one of the loop side pieces onto the fabric, 9cm from the seamed edge and 6cm down from the top edge. Stitch in place around all 4 sides. Repeat with the other piece of loop tape on the opposite side so it mirrors the first. Turn the lining back through to the wrong side.

Step 9
Set your sewing machine to the widest zigzag stitch you can (eg. 7). Join the In-R Form pieces together with the wide zigzag stitch along the seams to create the internal structure of the bag.

Step 10
Insert the In-R Form shape into the top bag fabric, making sure it sits into the corners. Next, insert the lining piece inside this again, making sure the corners sit in neatly. Line up the top edges of the three layers, pin, and top stitch together with a wide basting machine stitch, 5mm in.

Step 11
Fold the 8cm fabric strip in half and press. At one end, open up the tape and press down the corner diagonally before refolding in half. Start stitching at this point at the centre back of the top of the back, lining up the raw edge of the tape with the top of the back, and sewing a 1cm seam all the way around, as you did in step 1.

When you come round to the point where you started, trim off any excess tape and tuck the raw end inside the diagonal fold you created initially, and top stitch over to finish.


Step 12
Fold the tape over and stitch in the ditch along the tape seam to secure the other side down, binding the top of the bag all the way around.


Step 13
Top stitch diagonally through the top edge binding at the corners to create sharp corners. Next, pin along the back side edges, catching in the top fabric, In-R Form, and lining. Top stitch a 1cm seam in from the edge all the way from the binding to the bottom, finishing off diagonally to the corner point. This will give the back of the back more structure and strength. Repeat along the back bottom edge.

Step 14
With the remaining 8cm wide tape, cut two lengths 16cm long. Repress the fabric so that the raw edges fold into the centre and the tape is then pressed in half again, enclosing the raw edges inside. Cut 2 4cm lengths of Velcro. Taking one loop tape piece, fold down 5mm of the top edge of the tape and position the Velcro loop tape over the top. Top stitch all 4 sides, securing the loop tape in place and enclosing the raw edge of the fabric also. Turn the fabric tape over to the other side and repeat at the opposite end with the loop tape.


Step 15
Fold the fabric tapes in half lengthways and mark the central point with a pin or your fabric pen. Position at the top edge of the back of the bag, each piece 4cm from the side edges. Stitch horizontally along the central line you marked, along the binding seam. Triple stitch these in place for strength.


Step 16
To make the inner piece, fold the 32cm x 12cm piece of fabric in half widthways and stitch down both long edges and round the corners, leaving most of the short edge open. Trim the excess from the corners and turn through to the right side. Press the seams.
Step 17 Insert the 10cm x 15cm piece of In-R Form to the fabric pocket. Pin the open edge closed.

Step 18
Take the 10cm hook tapes from the Velcro you used in step 8 and position them at either end of the padded fabric piece. Stitch the Velcro in place, enclosing the open edge at the same time. The fabric shape should now fold freely at the stitched points. Fold these edges in so that the hook tape is on the outside. Insert it into the top of the back and fix in place with the Velcro strips you stitched to the lining. You now have a secure place for a drinks bottle.


Step 19
Your DIY handlebar bag is now complete!

Now you’re all set to plan your next adventure! Pack your handlebar bag, pop it on your handlebar, and go exploring!

This project has been created by Lisa at Create and Craft. Please click here for the original post.


Comments