

The Crafty Lass does… Fabric Tinsel!
- Craft Cotton Co

- Nov 9, 2017
- 2 min read
Fabric Tinsel is a perfect way to create stunning Christmas decorations for your home.
Ingredients:
Twine (or any yarn)
Fabric Fat Quarters
(Optional) Ribbons
Tools:
Scissors
(Optional) Pinking Shears
Step 1 - select your fabrics
It is a good idea to not choose anything with a big print on (unless you just like the colours!) as you won't be able to see any large printed design on the finished tinsel. Stripes, spots, plains and tartans would work well. How much fabric required is how long is a piece of string (!) Two fat quarters would make approximately half a metre in length, but is very much dependant on how wide and long each tinsel 'strip' is.


Step 2 - fabric strips
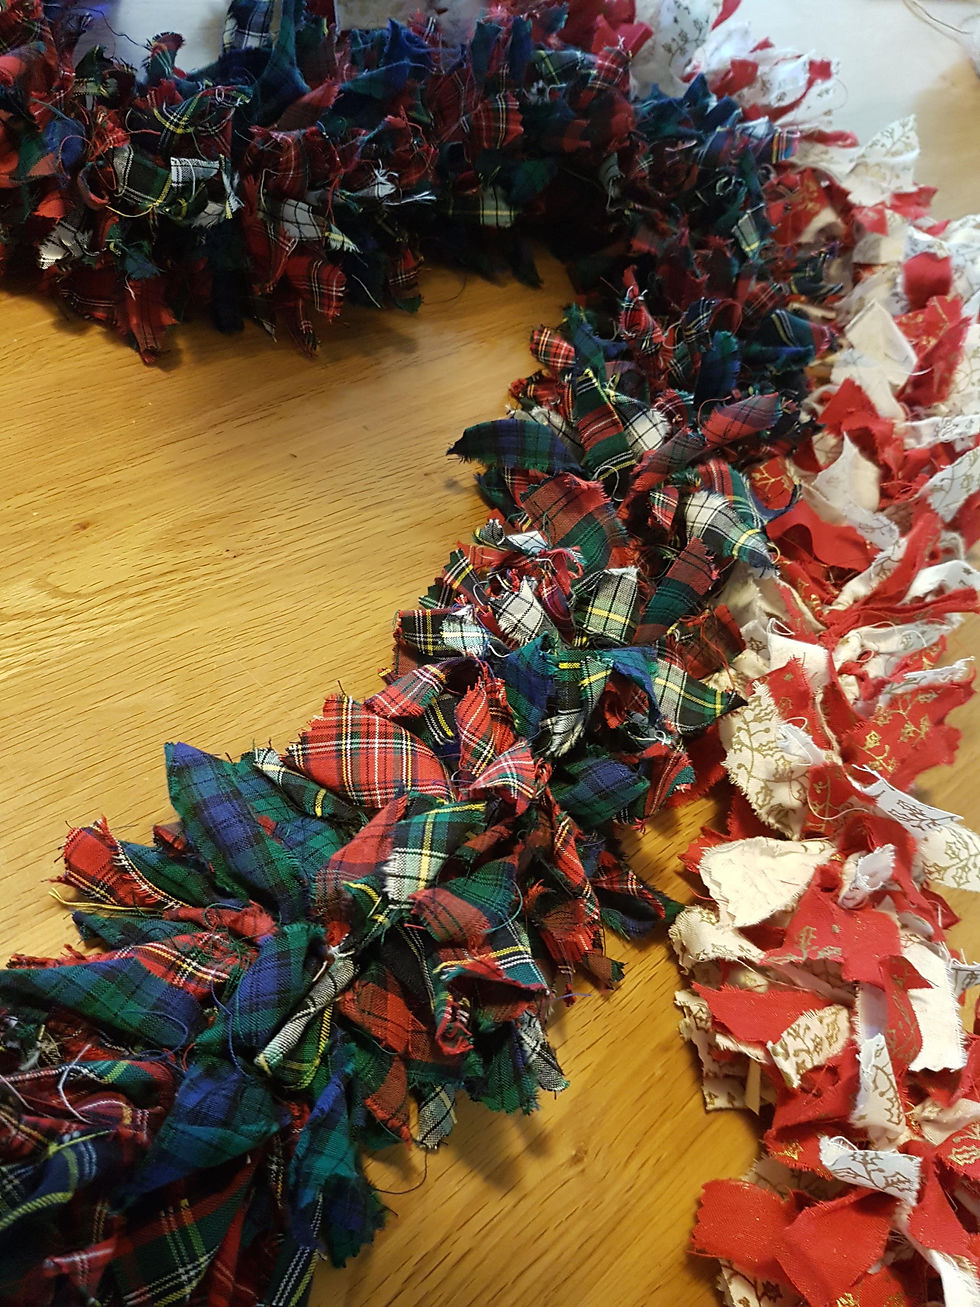
You can either cut your fabric into strips with scissors, or pinking shears - or to create an even more 'tinsel' and ruffled effect you can rip the fabric along the warp and weft of the material. If choosing this option (as the examples pictured)
snip at the edge of the fabric and simply pull apart! It very helpfully will tear into a straight line. It is entirely up to you what width you make each strip - the finer the width the more 'tinsel' the effect! In the example photos each one is between 1cm and 2cm wide - but try not to worry about making each one exactly the same and/or perfect - the variety and difference with each one allows the tinsel to build up and add texture.

Step 3 - Cutting to length
Cut each of your strips to approximately 8-10cm in length. You can cut multiple strips at the same time, just bunch together and cut - again, don't worry about them being perfect!


Step 4 - Knotting
Take your twine, and start by simply knotting each piece of your cut fabric on to this. You don't have to make each one perfectly knotted in the middle - it will balance out as you go along. Make sure to push the knots up together to make the 'tinsel' nice and full.
Please note, to start with - it will look messy! But persevere - once you have tied on 20 or 30 ties it will begin to look more 'tinsel' like! Should you wish to add additional colour and/or texture you could also add and tie on some ribbons too.

Step 5. Tinsel!
Continue tying fabric on until your tinsel reaches the desired length. Trim any really long pieces of fabric with either the
scissors or pinking shears and then hang on your Christmas tree!
Why not use red and white to create a 'candy cane' design, or fade colours in and out for an 'ombre' effect!


Made by Paula Milner for The Craft Cotton Company 2017
Visit her website here for tons of creative projects


Comments