

Minions - Baby Accessories
- Craft Cotton Co

- Apr 18, 2023
- 3 min read
Updated: Jul 12, 2023
Project by Stephanie Marsh

Fabric used: Minions (3209)
Taggy

You will need:
1 Cotton fat quarter
Dimple fleece, at least 13” square
Various ribbons/rickrack
Matching thread

Instructions:
1. With the cotton fat quarter and the dimple fleece cut a 13” square in each.

2. From the ribbons and rickrack cut 20 x 5” lengths.

3. Fold the ribbons/ric-rack in half, matching the cut edges. Place at regular intervals around the cotton square. Stitch them in place by sewing all around using a ¼” seam allowance.

4. Place the dimple fleece on top of the cotton fabric, right sides together, matching all the edges.

5. Stitch all around using a ½” seam allowance, leaving a 2” gap for turning.

6. Trim the corners to reduce bulk, be careful not to cut through the stitching.

7. Turn right sides out, lightly press the seam, do not use a hot iron, as the fleece will melt.
8. Pin the gap closed, then top stitch all around, ¼” from the edge, this will stitch the gap closed.

9. Lightly press, from the cotton side and trim away any thread ends.

Teething Ring

You will need:
Small amount cotton fabric
Small amount of dimple fleece
Wood Teething Ring (ensure it is a one for new-born babies)
Matching thread
Paper and pencil, or a rabbit ear shape template
Instructions:
1. Using the paper and pencil (or download a template from the internet) draw a rabbits ear shape, approximately 9” tall and 4 inches wide.

2. Cut 1, on the fold (short straight edge) in cotton and 2 in dimple fleece, extending the long edges by ½”.

3. Pin and tack to the wrong side of the fleece the ½”extention as shown below.

4. With right sides together matching raw edges pin fleece to cotton fabric; you may need to use many pins as the dimple fleece has a slight stretch.

5. Using a ¼” seam allowance sew all around the outer edge. Trim the corner and either clips the curves or trim the seam allowance using pinking shears.

6. Turn right sides out through the gap in the fleece, finger press the seams, carefully poking out the point of the ears. You can either now slip stitch the gap closed or machine stitch through all the layers so the raw edges are enclosed. Topstitch all around, ¼ from the edge.

7. Fold the ears in half and thread through the ring, as below.

8. Take the ear ends and feed them through the loop that you have made on the other side of the ring, pull through and make neat.
Bibs

You will need:
Small amount cotton fabric
Small amount of towelling (I used a towel from Primark, washed)
Matching or contrasting thread
Popper, 1 set per bib
Instructions:
1. For the pattern I downloaded a bandana bib pattern from the internet and cut out 1 in cotton and one in towelling.
2. Place right sides together, matching raw edges, stitch all around using a ½ “ seam allowance, leaving a 2” gap for turning. Trim seam allowances using pinking shears, or clips corners if you do not have any pinking shears, apart from where opening is.

3. Turn right side out, lightly press, you can use a hotter iron as towelling is cotton and does not melt as the fleece would. Pin the gap closed.

4. Slip Stitch the gap closed.

5. Top stitch around all the edges.

6. You can either use a sewn on popper or a plastic one as the closure. I use the plastic ones which come with a tool to attach them, which involves making a hole in the fabric, pairing a back and front together, then squeezing them together with the tool provided.

Booties
There are many free booty patterns available on the internet, I used
and
These had easy to follow instructions, although they can be a bit fiddly as they are small.

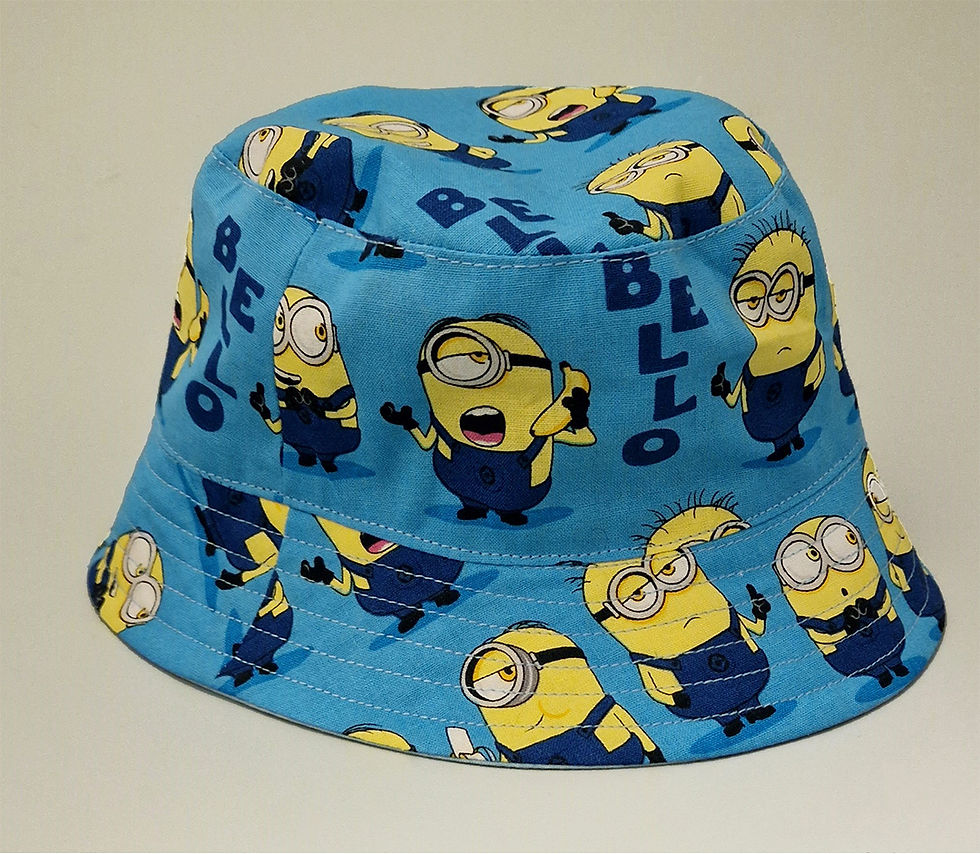
Hat
I used a free pattern from the internet for my sun hat, I used the smallest size. The pattern I used was by Oliver and S, https://oliverands.com/shop/oliver-s-reversible-bucket-hat-sewing-pattern.html. This was free at the time I made the hat, but there is a charge for it now. Similar ones can be found on the links below:
There are quiet a few also available on Pinterest. The pattern I used took 2 fat quarters. The instructions were clear with pictures that made construction easy. The hat can be made in a few hours. If you have directional fabric be careful when cutting out the brim and side, you don’t want an upside down minion. Keep the top stitching neat on both sides, especially if you intend to use the hat as a reversible one. Remember to iron in between every sewing step, this will make the hat look more professional.
To see more from Stephanie follow her on Instagram @stephanie_j_marsh.
Made by Stephanie Marsh for The Craft Cotton Co 2023.


Comments