

Peter Rabbit Easter Basket Liner
- Craft Cotton Co

- Mar 20, 2021
- 2 min read
Project by Angela Harkness

Give an old basket a new lease of life with a simple fabric liner with ribbon ties...perfect for an Easter basket for an egg hunt, or use in your kitchen to store your eggs!
Supplies:
1 Fat quarter of Flowers and Dreams Peter Rabbit fabric
Ribbon
Basket
Directions
Step 1: Measure your basket:
· Diameter of basket base
· Diameter of basket top
· Depth of basket top rim
· Height of basket
Add 0.5” seam allowance onto measurements


Step 2: Work out the dimensions needed for fabric piece:
· Diameter of basket base > what is the circumference? That will give the measurement of the bottom of the fabric
· Diameter of basket top > what is the circumference? That will give the measurement of the top of the fabric
· Add on the extra measurement for the turnover of the fabric on the top of the basket
Step 3: Cut out the fabric pieces according to the measurements for your basket: one piece for the main liner, one piece for the base of the fabric liner


Step 4: With right sides together, stitch the side seam in place using 0.25” seam allowance. Cut out a little notch in the seam allowance at the pivot point of the seam, then open out the seam and press well.


Step 5: Cut out the fabric pieces according to the measurements for the base of the fabric liner. Press well, then carefully fold in half, then in half again and gently press a fold line in place. This will make inserting the base much easier.

Step 6: Fold the main fabric piece in half and then in half again to mark the quarter points around the base. Match up the quarter points together and hold in place with a pin. Gently ease the fabric in each quarter, matching up the fabric edges and holding in place with pins. This part takes a little time as sewing a curved edge to a straight edge isn’t always easy! Stitch the seam using a 0.25” seam allowance, removing the pins as you go. Carefully open out the seam and check your stitching, making sure there are no puckers. Once happy, neaten the raw edges with either a zigzag stitch or an overcast stitch.


Step 7: Fold the liner in half and cut out a small triangle or ‘V’ on each side for the basket handle placement. Make sure the side seam is in the centre, rather than at the sides where the handles are.


Step 8: Fold over the raw edges on the top of the basket liner, including the handle positions and topstitch.

Step 9: Cut four ribbon ties and stitch in place at the handle positions.
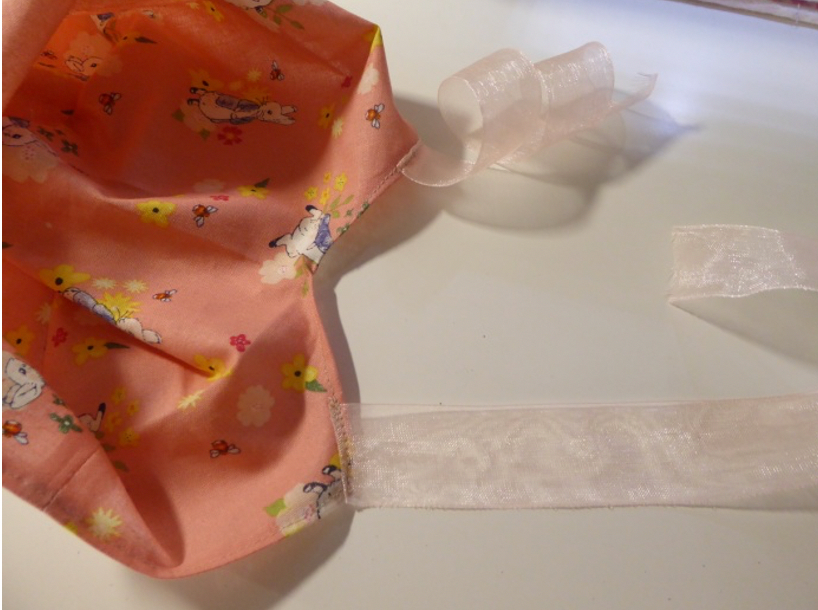
Step 10: Press the liner well, carefully drop into the basket, aligning the liner with the handle placement of the basket. Secure each of the ribbon ties with a bow then the basket is ready to use.

To see more from Angela, visit her on Instagram @angerellas_crafts
Made by Angela Harkness for The Craft Cotton Company 2021


Comments